HUB 01 · Multicookers
The Instant Pot Water Test
Before you cook anything, run the water test: a short pressure cycle with nothing but water in the pot. It confirms the seal and valve are working, teaches you the sealing-and-venting steps with zero risk, and turns the intimidating first cook into a non-event. Here is the whole thing, step by step.
We earn a commission if you buy through our links. It does not change the price you pay, and it does not decide our picks — the scoring rubric is published in full, including what disqualifies a pick. How this works.
Why the water test is worth five minutes
Instant Brands puts the water test in the manual for a reason: a pressure cooker feels intimidating the first time, and the fastest way past that is a dry run with nothing to ruin. You confirm the parts are seated right, you watch the pot come to pressure and release once, and the whole mystery is gone. It pairs naturally with how to use a pressure cooker— think of this as the hands-on first lap. It also pre-empts the most common beginner problem, a pot that will not come to pressure, by proving your seal works before dinner is on the line.
Step 1 — check the parts and add water
Take the lid off and check the sealing ringis pushed fully into its rack all the way around — a ring that is not seated is the number-one reason a pot leaks steam and never pressurizes. Make sure the inner pot is in place (never add water to the housing), then pour in 3 cups of water. Glance at the float valve and the anti-block shield under the lid to confirm nothing is obstructing them.
Step 2 — seal it and run a short pressure cycle
Put the lid on and turn it to the locked position. Set the steam-release valve to Sealing (on models with a manual valve — the Pro and some others seal automatically). Press Pressure Cook / Manualand set the time low — 2–5 minutes is plenty. The pot will take several minutes to build pressure; you will see the float valve pop up when it reaches pressure, and the countdown only starts then. That lag is normal, and watching it once means you will not panic about it during a real cook.
Step 3 — release the pressure both ways
When the timer beeps, this is your chance to practice both releases from natural vs quick release. Let it sit a few minutes for a partial natural release, then carefully turn the valve to Venting for a quick releaseand watch the jet of steam — keep hands and face clear, and never put them over the valve. The float valve drops when all the pressure is gone, and only then will the lid unlock. Tip the water out, and you are ready to actually cook, with the controls no longer a mystery. If the pot never reached pressure or leaked steam from the edge, re-seat the sealing ring and check the valve — the not-sealing guide covers the fixes.
The hardware
The cookers this page is about
The cookers referred to above, with prices pulled live from Amazon and dated on every card. Full rankings live in the roundups linked from this page.
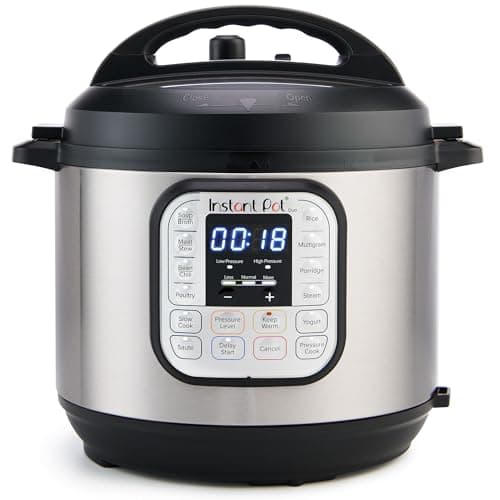
1,000 W
Instant Pot Duo 7-in-1 Electric Pressure Cooker, 6 Quart
The multicooker that made the category, and still the right default. Instant Brands publishes the wattage, the working pressure range and a stainless (not nonstick) inner pot, which is more than most of the field manages — and it costs less than almost all of them.
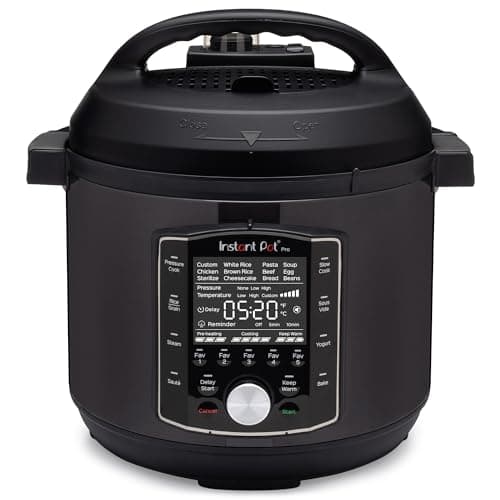
1,200 W
Instant Pot Pro 10-in-1 Pressure Cooker, 6 Quart
The Duo's mechanicals with the interface fixed: a genuine sous vide program, an auto-sealing lid, grab-and-go pot handles and five programmable buttons. It draws 1,200 W rather than the Duo's 1,000, and Instant Brands does not publish a working-pressure figure for it — the one gap in an otherwise well-documented cooker.
#ad · As an Amazon Associate we earn from qualifying purchases.
Questions
Frequently asked
What is the Instant Pot water test?
How much water and how long for the water test?
Do I have to do the water test?
Keep reading